Wired timelapse / interval remote for Sony A7 & A7r
The Sony A7r is a very nice camera for stills photography. I even wrote an article about how well it works together with manual focus lenses.
The biggest reason I bought this camera was for the possibility to do high resolution and low light timelapses. When I bought this camera there was no way to do this. However Sony made it’s timelapse software available for this camera, which was pretty nice until I figured out a couple of flaws. The 999 frame limit was the biggest let down. 999 frames are not even a minute of footage played back in 25 fps. The second let down was the fiddly menu which could take ages to setup.
Since I sold my Panasonic GH3 and bought the Sony A7r, I’ve not shot a single timelapse. Until this week.
I saw some DIY videos on youtube about how to build an IR timelapse / interval remote which gave me an idea. The problem with the IR remotes are the lack of wires. They might work well for a average timelapse, let’s say some clouds moving over a landscape shot over a time span of an hour. But what if I wanted to shoot longer time spans, lika a plant growing in a studio? Or what if I wanted to shoot long exposure northern lights with my camera on a slider?
The best, safest and sometimes the only way has been to use a wired connection.
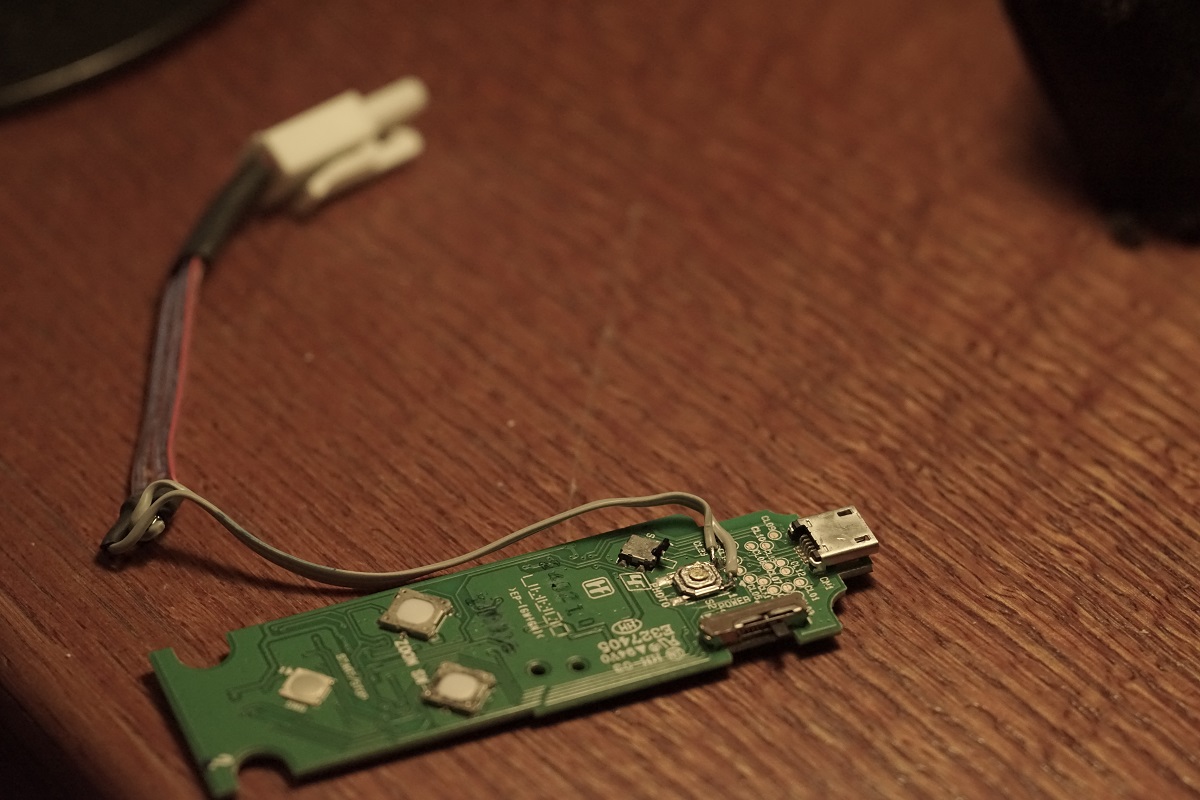
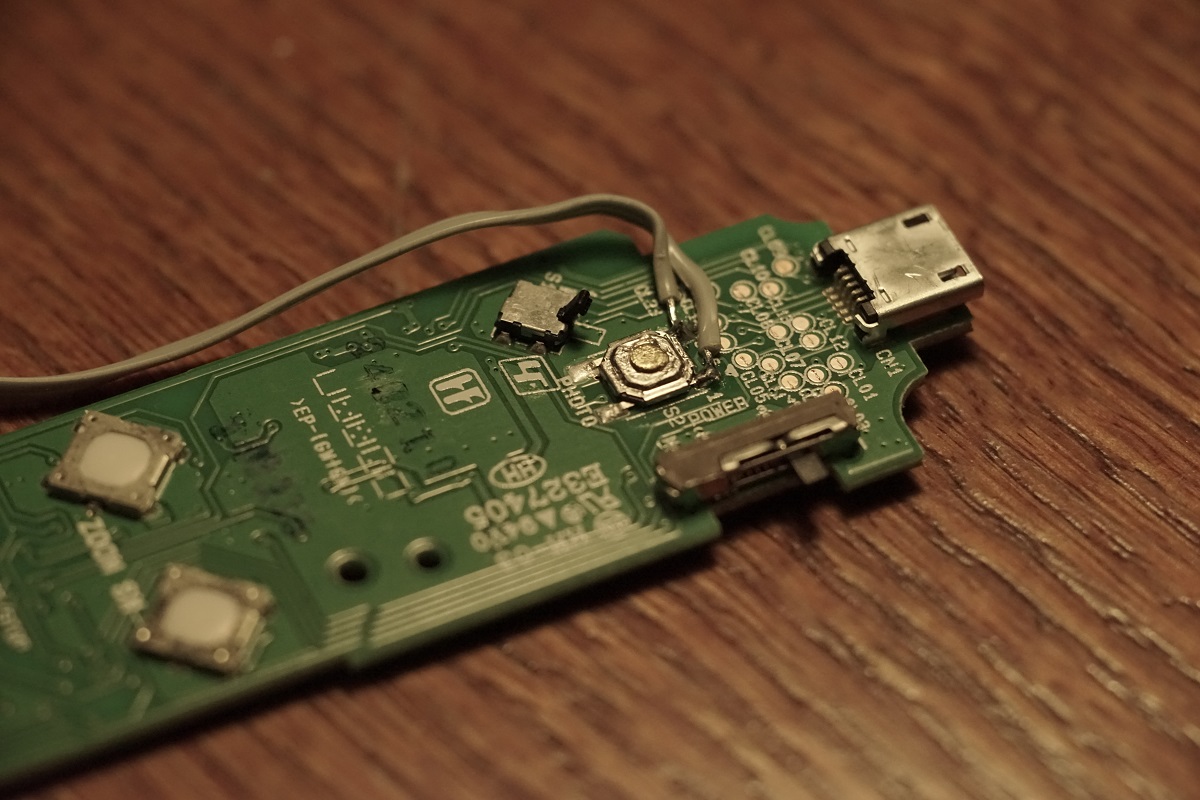
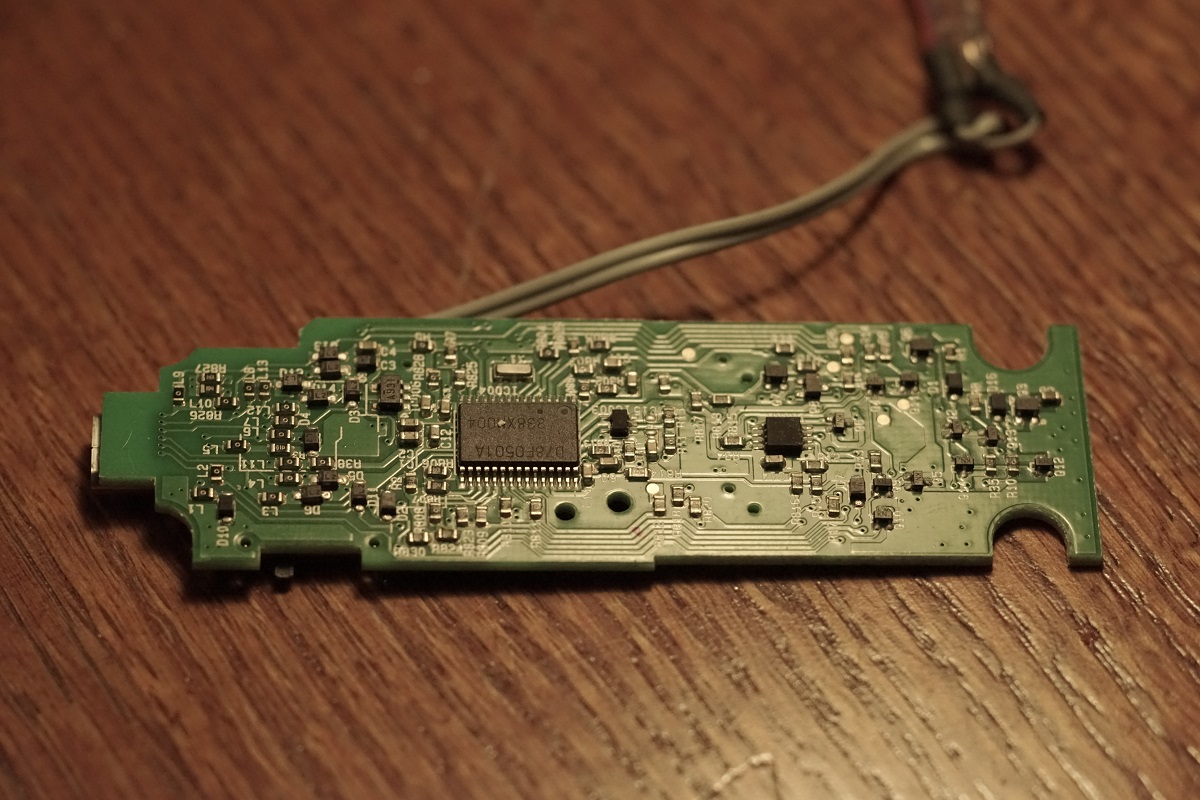
My idea was to just solder two existing pieces together. And it worked!
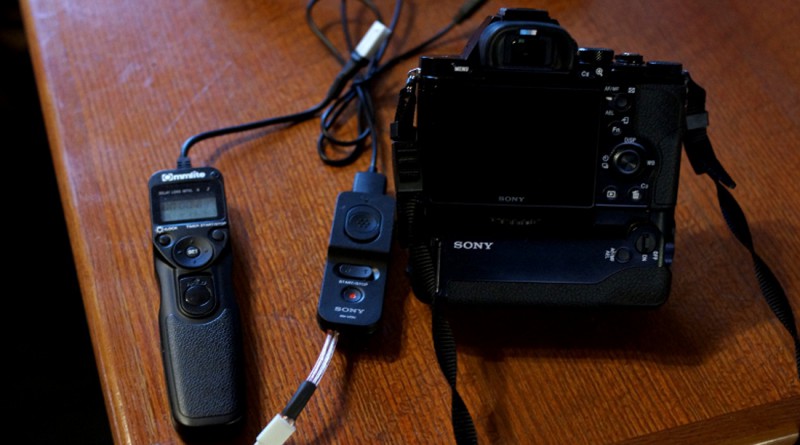
I used the Sony RM-VPR1 remote controller and a chepo Commlite timer remote controller, the S1 cabled one.
Then I went to my local technician expert guy who cut of the S1 cable and opened the RM-VPR1 and soldered the S1 cable directly to it’s circuit board. He then built a new connector for the RM-VPR1 so I could use other controllers as well.
The RM-VPR1 works still perfectly as it should with all the rec button and zooms, but now only have one more connector.
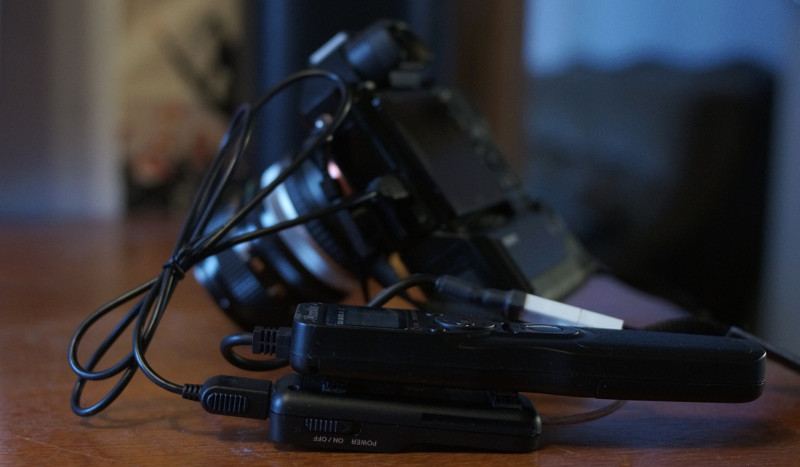
Not maybe the most beautiful DIY gadget but it’s working.
I’m still waiting for a new cable which I will modify so that I can use it together with the Ditogear slider.
—————————————————————————-
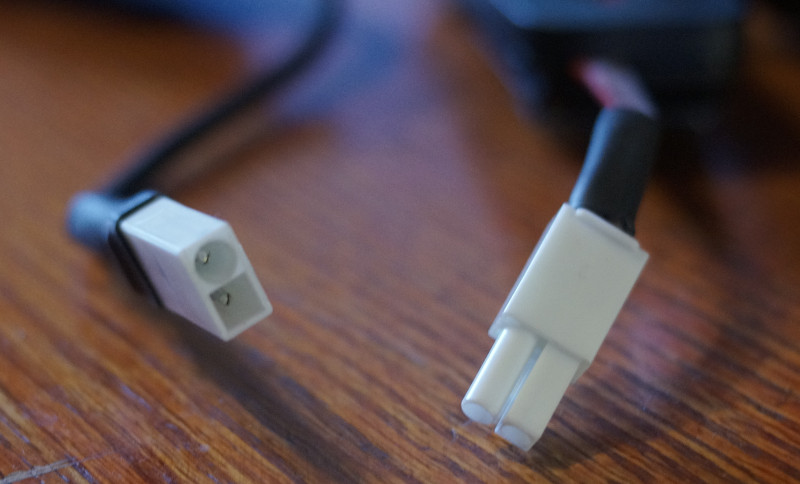
Update:
Some photos of the circuit board. Sorry it took so long.